Integrate Jest into an Angular application and library


Why Jest
- Sensible faster; parallelized test runs
- Snapshot testing; to make sure your UI does not change unexpectedly
- Rich CLI options; only run failed tests, filter on filename and/or test name, only run related tests since the latest commit
- Readable and useful tests reports
- Sandboxed tests; which means automatic global state resets
- Built in code coverage
- Personally I also like that I don’t need a browser in order to run my tests
What is Jest
Zero configuration testing platform
- Jest is a test framework created by Facebook
- The number one test framework in React applications
- A testing framework for big and small teams
Creating an Angular application
The first thing to do is to create an application. Using the Angular CLI, we can use the following command to generate our project.
If you don’t got the Angular CLI installed, you can install it globally with npm install @angular/cli -g.
After the Angular CLI has scaffolded our project let’s make sure everything works.
cd my-awesome-app npm start
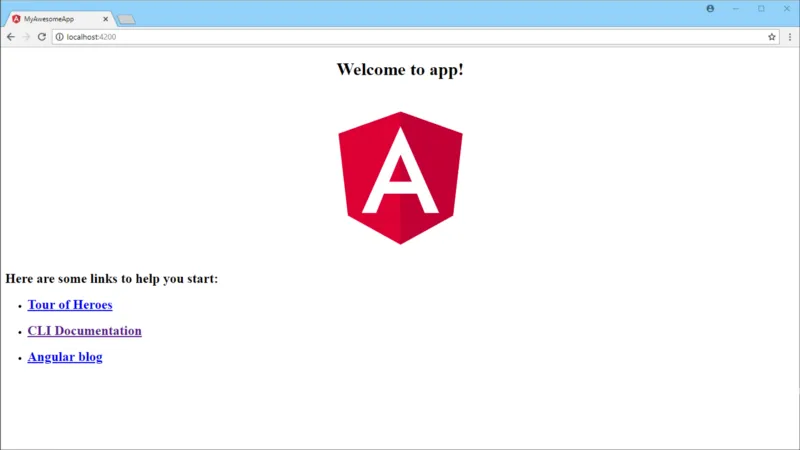
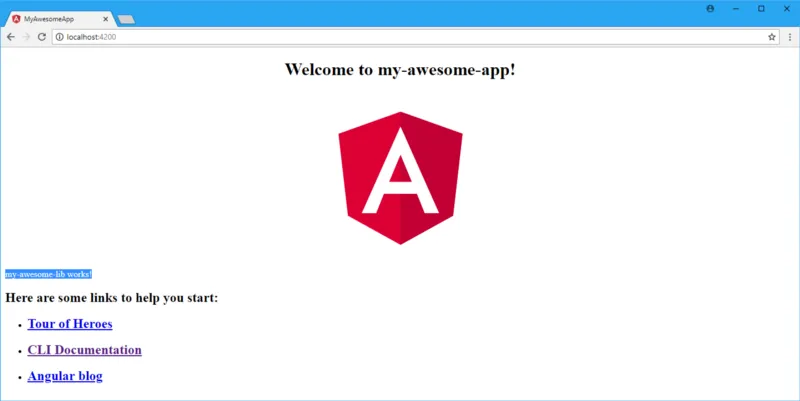
When we navigate to http://localhost:4200 we should see our application.
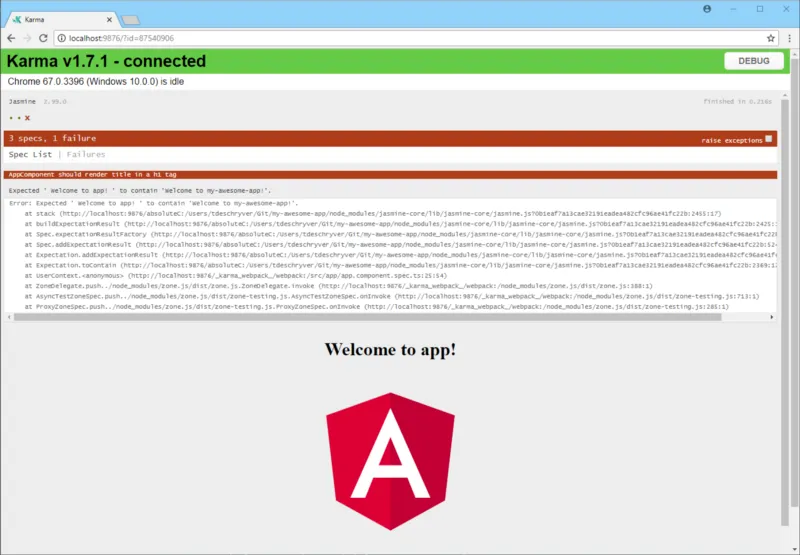
So far so good, let’s also run the tests
This should open a new browser window and our tests should run. Don’t worry if one test is failing, this is working as intended.
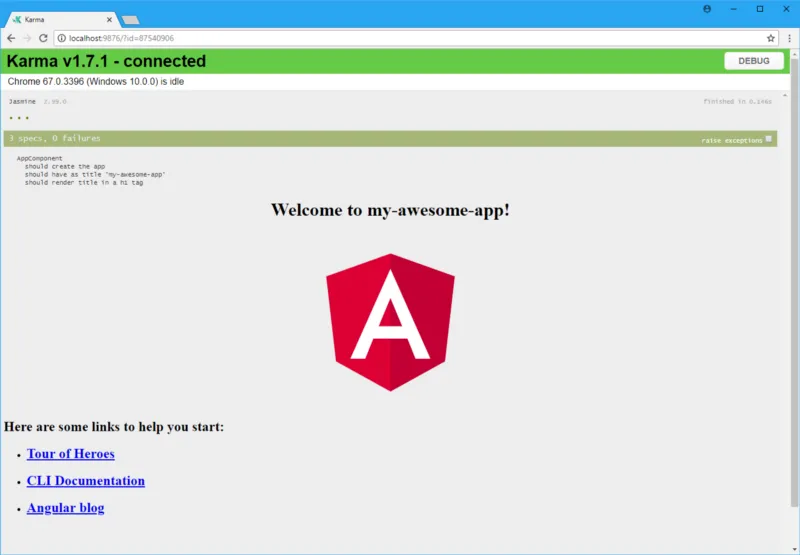
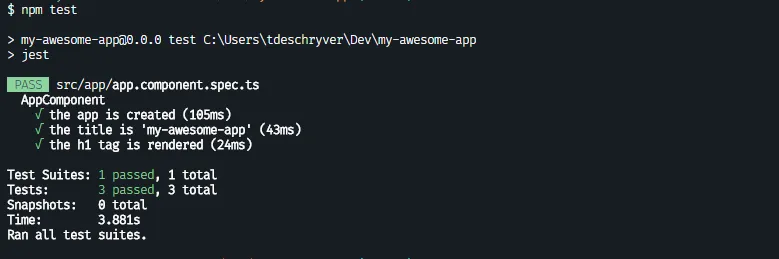
Before we’re going to use Jest as our test runner, let’s fix this failing test so we can start with a clean slate. To fix the failing test, change the title inside the AppComponent to “my-awesome-app”. Because we’ve changed our title we should also change the corresponding test, this means changing the “should have as title ‘app’” test description to “should have as title ‘my-awesome-app’” and change the assertion that our title should be “app”, to be “my-awesome-app”. If we did everything right, all tests should pass.
Adding Jest
To use Jest as our test runner we’re going to use jest-preset-angular. To get it up and running we simply have to follow the instructions in the README, so let’s go over the steps.
The jest-preset-angular library configures Jest and it will also configure the Angular TestBed for you.
First, we have to install all the dependencies we need.
Secondly, we create a setup-jest.ts file in the root and import jest-preset-angular inside of it.
The last step is to add the Jest configuration in the package.json.
Or, we can create a jest.config.js file in the root and add the configuration there.
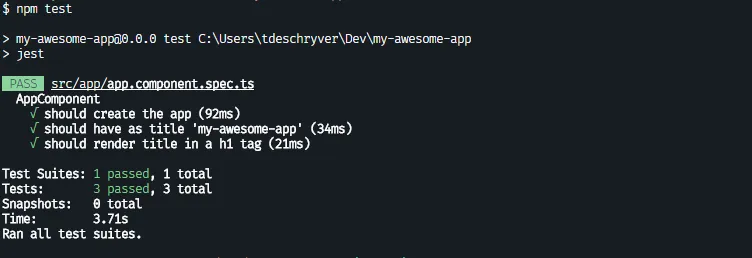
To run our tests with Jest we can now modify the test script to use Jest instead of ng test.
If we now run npm test, our tests are using the Jest runner and better yet everything is still green (and we don’t need a browser)!
With minimal effort we can integrate Jest within our Angular project!
I think now would be the perfect time to remove all the Karma dependencies and configuration files, just to have our project cleaner. We can remove all the Karma dependencies with the following command
We also have to delete the karma.config.js and test.ts files in the src directory and we also have to remove the test entry inside the angular.json file.
Our tests are still using Jasmine and while Jasmine is mostly compatible with Jest, let’s rewrite our tests to use the Jest syntax. In our little application it’s sufficient to change the Jasmine’s it method to Jest’s test method. While we’re there we should also modify our test description from a Behaviour Driven Development (BDD) style to a more Test Driven Development (TDD) style. This might look like:
Because we’ve refactored our tests by using the Jest syntax, we could also remove the Jasmine dependencies. If and only if you’re not using Protractor (you could be using Cypress for example) for your end to end tests. This is because Protractor is using Jasmine for its end to end tests.
If we re-run the tests, everything should still turn up green.
After this post was written, someone pointed me to briebug/jest-schematics, which is an schematic that does all these steps above for your. If you run ng add @briebug/jest it adds and configures jest-preset-angular and removes the karma dependencies and files. This means you don’t have to do a single thing!
As of 2018–08–30, Nrwl Nx 6.3 provides the option to use Jest for unit testing. For more info see Nrwl Nx 6.3: Faster Testing with Jest.
Creating the library
With our application and Jest ready, let’s tackle the second part and create a library using the Angular CLI.
The Angular CLI will prefix your library components automatically with lib. In order to prevent this, you can use the --prefix flag.
This will generate our library my-awesome-lib inside the projects folder and it also adds a couple of configurations inside angular.json. It will also add the paths to our freshly created library inside tsconfig.json, this to import the library in our application like a module.
We can see that the command also generates the default test files. Just like before we’ll delete the karma.config.js and test.ts files and we’ll also edit the test inside the generated spec file to look like this:
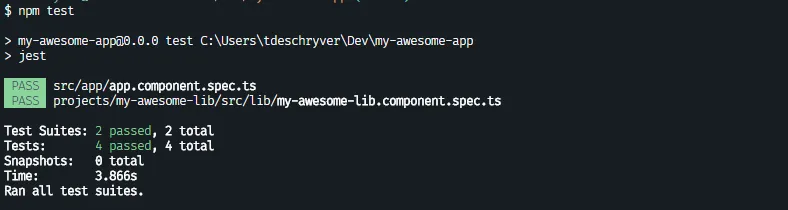
With this change we can test our library with the same script as our application, which is npm test. If we run this script we can see that both of our spec files are being picked up by Jest, and that the tests are passing.
Before we can use our library inside of our application we have to build it first. This can be done by adding a build script inside the package.json from our application. I would also suggest to rename the default build script from build to build:app, so it is always clear what you’re building.
By using the created script npm run build:lib, we can build the library.
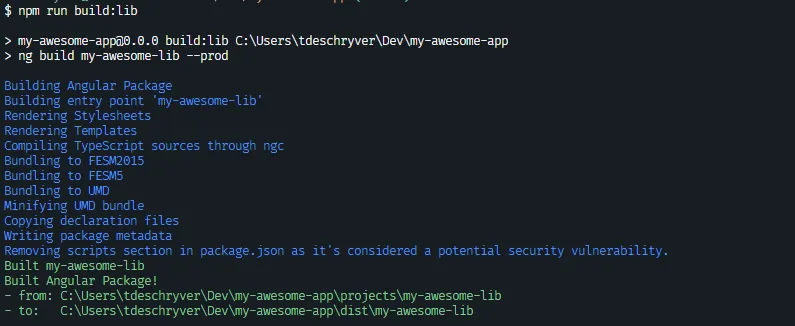
As we can see, it builds our library inside the dist folder. This is also the folder where the
pathscreated by the Angular CLI insidetsconfig.jsonare pointing at.
Finally! With our library built, we can use our library inside our application. Therefor we have to import our library, this can be done by adding the library’s module to the imports of our AppModule.
And now we can use our library’s component inside our AppComponent template by adding
With our application working let’s re-run our tests to make sure we didn’t break anything. And of course… our application tests are failing because we didn’t import our MyAwesomeLibModule into the TestBed. So just like in our AppModule we can add MyAwesomeLibModule as an import.
HINT: in a “real world scenario” you would probably want to run the tests first before running your application.
With this in place our tests will be green again, right? Well not exactly, when we run our tests we get the following error
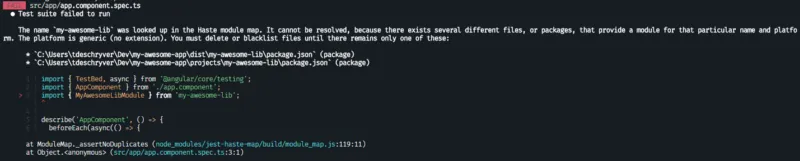
Splitting up Jest
Let’s take a couple of steps back, and ask ourselves if we want to test our library and our application at the same time? I don’t think this is what we want, right? We rather want to:
- test our library
- build our library; when all the library tests are successful
- test our application; when the library is built
In order to do this we have to configure Jest a little bit different.
Instead of configuring Jest in the package.json we’ll create a new file jest.base.config.js in the root of our project and move the configuration to this file.
With our base config ready, the next step is to create two config files, one for our library jest.lib.config.js and the other one for our application jest.app.config.js.
As you can see we’re importing the base configuration from jest.base.config.js. We’re also extending the configuration with the roots property to specify the directory that Jest should use to search for its files.
With the Jest config files created we can use the —-config flag to let Jest know which config to use in order to run the tests. We’ll remove the existing test script and add the following scripts to the application’s package.json.
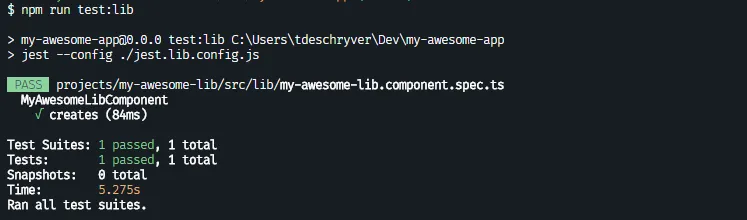
But we’re not there yet. While our library tests are succeeding, our application tests are still failing.
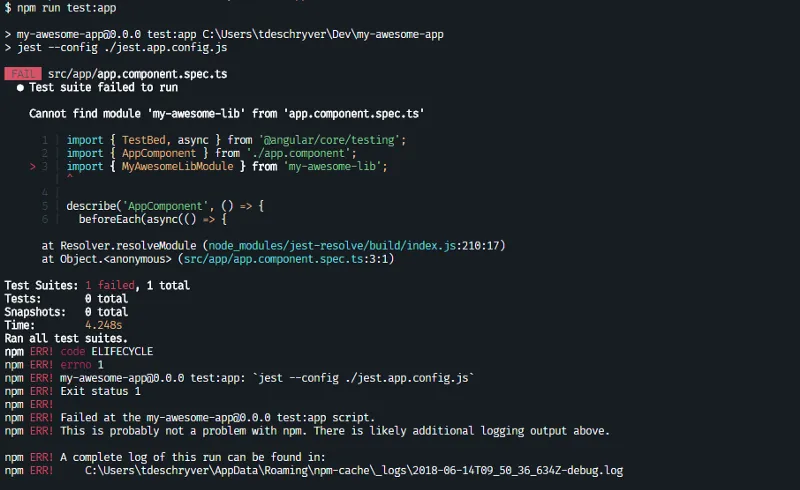
If we take a look at the error message, we can see that Jest is having some troubles to find our library. In order to fix this we’ll have to re-open the Jest configuration jest.app.config, and we have to let Jest know where it can find our library by using the modulePaths property.
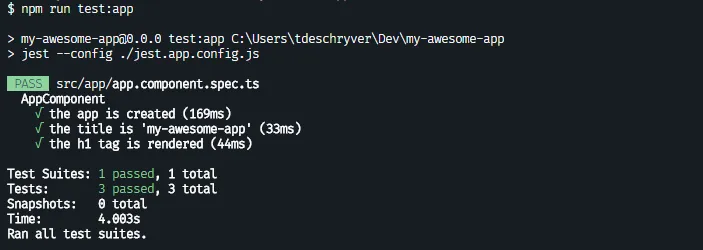
And voila, our tests finally show up green.
Wrapping up
To make it ourselves easy we can create a command that test both our library and application. This command can come in handy before you commit to make sure everything works as expected, or during your Continuous Integration (CI) build.
As last note I want to quickly mention that it’s also a possibility to use Jest and Jasmine side-by-side. For example you can keep using Jasmine for your existing code base and use Jest when you create a new library.
To see this in action you can always take a peek at ngx-testing-library, and while you’re there you might as well give it as⭐️.
A big thank you to Adrian Fâciu for taking the time to review this post! 🙌
This play-by-play was written based on the following specifications:
Not to miss
You can take a look the angular-ngrx-material-starter to get your feet wet with Angular, NgRx and Material. It’s created and maintained by Tomas Trajan , who recently became a Google Developer Expert, and since short I’m helping him out with this project (there are a couple of issues that are up for grabs).
Angular NgRx Material Starter Project by @tomastrajan
Feel free to update this blog post on GitHub, thanks in advance!
Join My Newsletter (WIP)
Join my weekly newsletter to receive my latest blog posts and bits, directly in your inbox.
Support me
I appreciate it if you would support me if have you enjoyed this post and found it useful, thank you in advance.
