How I've set up my new Windows development environment in 2022
Tim Deschryver
timdeschryver.dev
In the first week of 2022, I had the joy to receive a new machine from my new employer dotNET lab. In just a few hours I was up and running, let's take a look at my setup as a full-stack .NET and Angular developer.
Getting a new "toy" is always exciting but it's a double feeling because a new development environment involves manual work (remember what software to download, browse to the download page, step-through the install wizard), which is time-consuming. The last time that I configured my machine is a couple of years ago, and I remember that there were lots of sighs involved.
This time, a lot in the Windows eco-system has changed. In comparison to the previous time, it was a breeze, making this a fun experience!
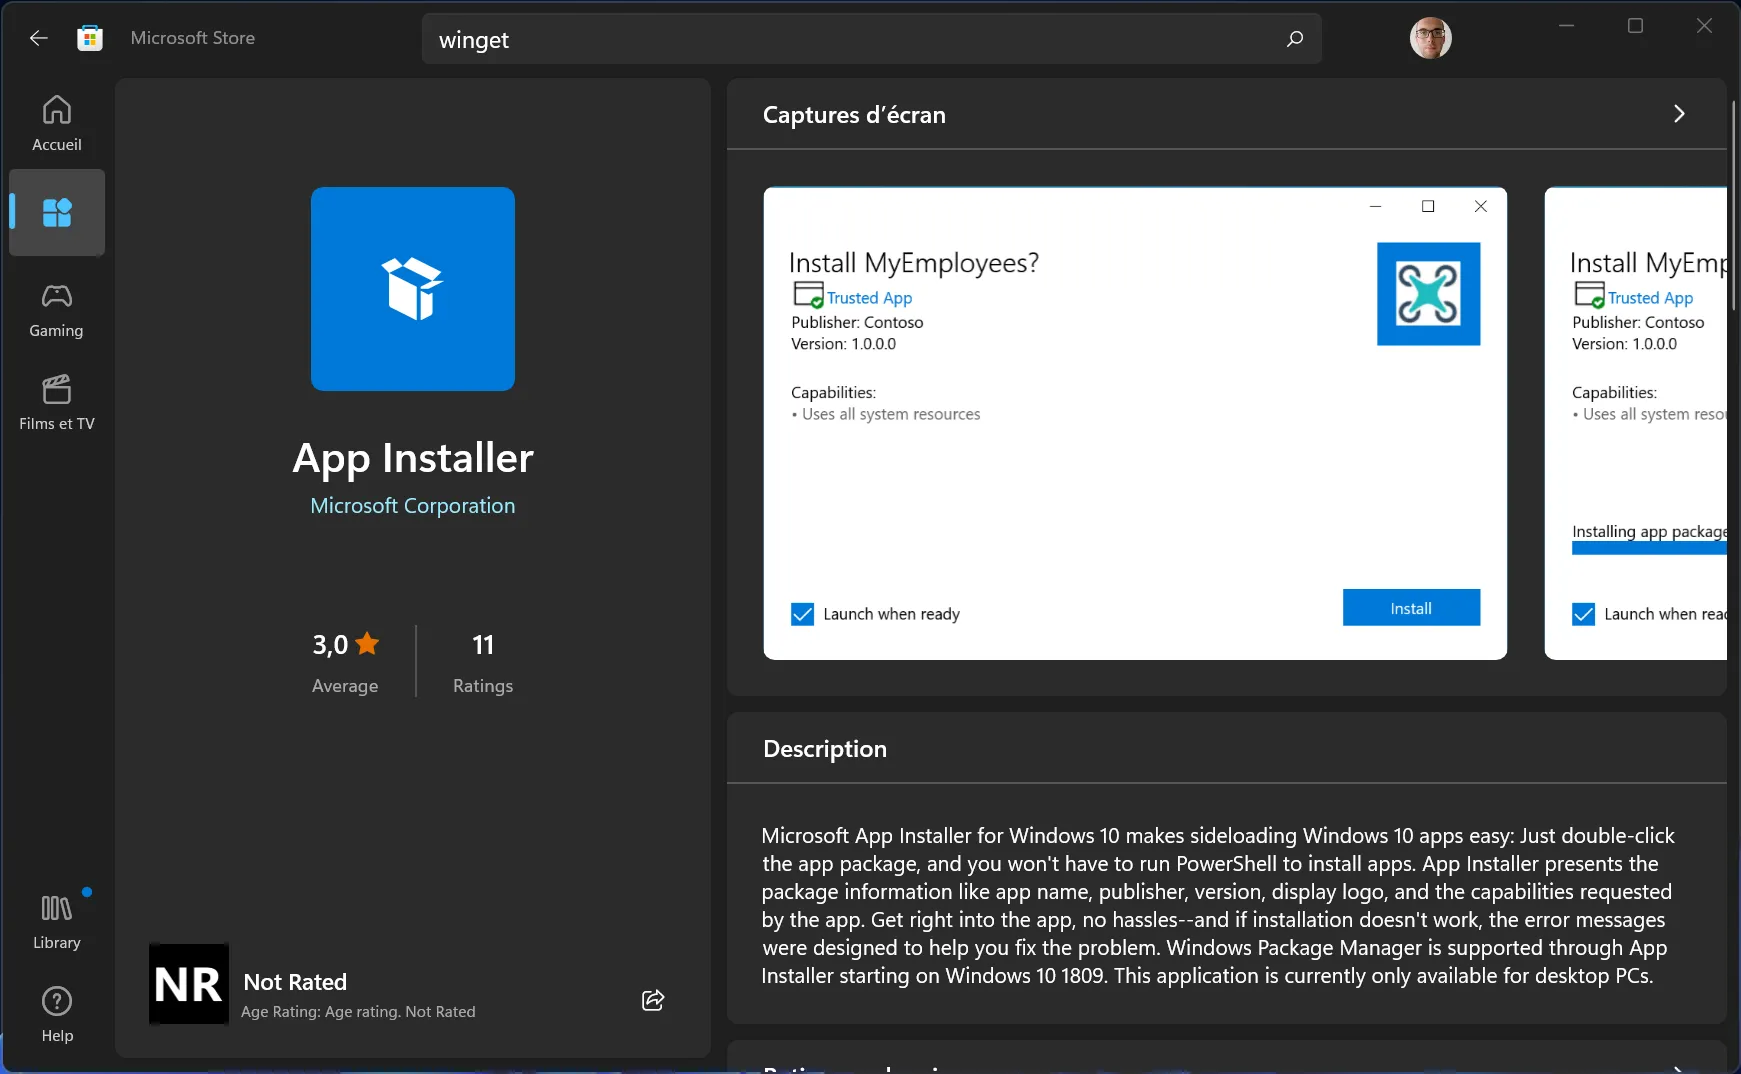
After the initial installation (and updates), the first step is to make sure that winget is installed, and that it's updated to the latest version. You can do this by going to the Microsoft Store and searching for winget (in the store it's listed as "App Installer").
Installing winget via the Microsoft Store
winget has two important commands winget search to search for software, and winget install to install the software. When using the install command, note that you can pass it the interactive flag to intervene with the installation details by changing the defaults.
Once winget is installed, open a new command prompt and copy-paste the next script.
This script installs all of the software that I've used throughout the last month in a single command.
I use fnm because I need to work within multiple Node.JS versions.
With the fnm CLI I'm able to easily install Node.JS version and cycle between them, depending on the project's configuration.
The best part is that fnm automatically uses the correct version.
The only requirement is that a .node-version or .nvm file exists in the root directory.
.node-version
18.16
When the specified Node.JS version isn't installed, fnm prompts a install command.
cdmy-awesome-project
> Can't find an installed Node version matching 18.16.x.
> Do you want to install it? answer [y/n]: y
> Installing Node 18.16.1 (x64)
> Using Node 18.16.1
cd ../second-great-project
> Using Node v16.13.2
Other helpful commands are install, use, default, and current:
Tye has been indispensable in my toolkit for the past year.
I was immediately hooked from the first time when I heard about this tool.
Tye makes the development experience a lot smoother when it's required to run more than one application at once.
With a single command, all of the development instances (services, applications) are spawned locally (and can be debugged), making it effortless to run a development environment. For example, a .NET Web API and an Angular frontend.
I compare the Windows Terminal as the default Command Prompt on steroids that has built-in tabs, and it can be tweaked to my preferences. This makes me feel happy, resulting in an increased productivity.
Via the settings of the Windows Terminal, I set the default font and the default profile, which uses PowershellCore.
I've also added a few shortcuts to open (ctrl+t) and close (ctrl+w) tabs.
I've set the font to a font family from Nerd Fonts to display the beautiful icons (glyphs) that are used with Oh My Posh. Go to the download page to find your preferred Nerd Font.
To make the terminal cozy and pretty, I'm using Oh My Posh.
Oh My Posh also allows me to add key information to my prompt, making it more useful than the normal prompt. For example, a Oh My Posh theme can show the git status, the .NET version, the Angular version, and much more.
For some inspiration, take a look at the default themes.
You can even create your own custom theme for your own likings.
But for me, I like to change things, so every time that I open a new tab, I'm using a different theme that's randomly chosen.
To also render the icons Visual Studio Code, set the terminal's font of Visual Studio Code (via terminal.integrated.fontFamily) to the same font from the Windows Terminal config. By doing this, you'll get the same experience no matter where you are.
For example, the experience within an Angular repository looks as follows.
The terminal shows the path, the current branch, and the installed Angular version
Here's where things get interesting, and this part often raises eyebrows while I'm pair programming.
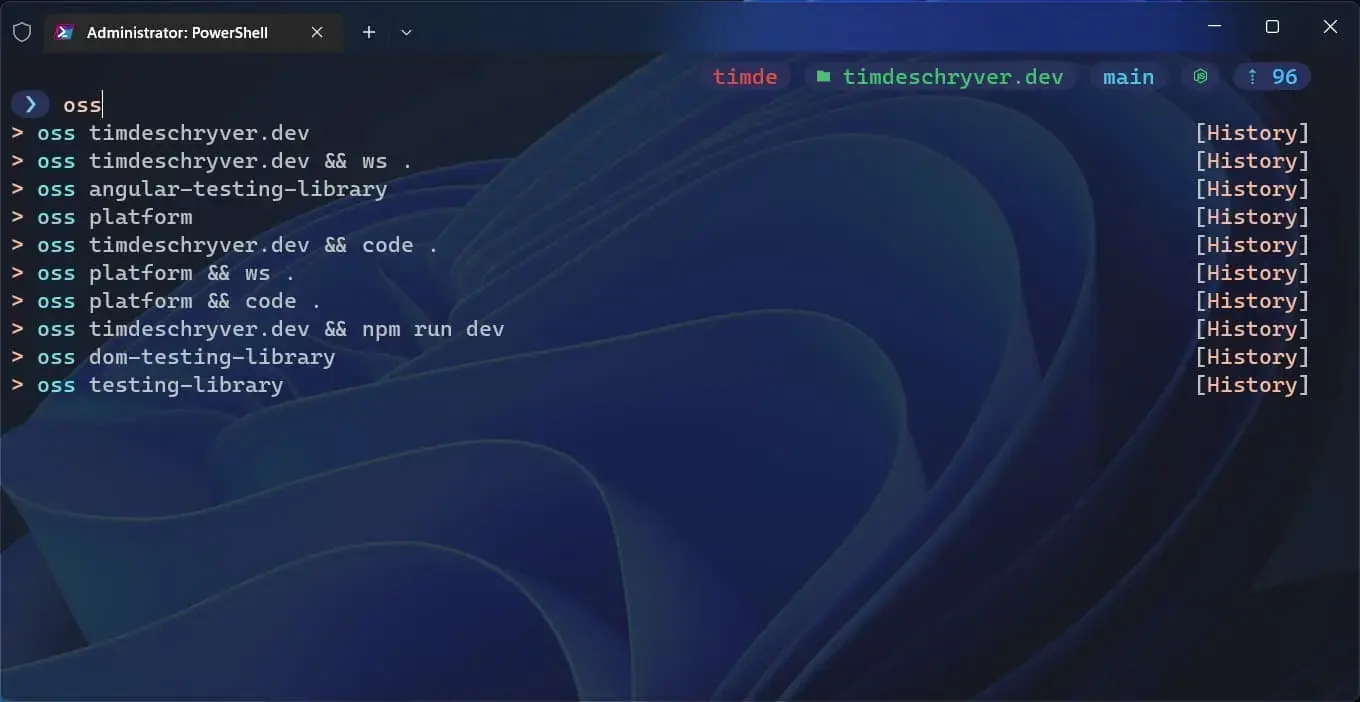
Because the default terminal uses Powershell a lot of tasks can be scripted. To reduce my keystrokes, I like to create aliases and shortcuts to quickly get done what I want to do. The best part is that these tasks are at my disposal when I'm in the terminal.
The Powershell scripts are created in a Powershell profile, accessible via the $PROFILE variable.
To create the profile, either manually create the file at "C:\Users\USER\Documents\PowerShell\Microsoft.PowerShell_profile.ps1", or use a command to create and open the file, e.g. code-insiders $PROFILE (if you're using the normal Visual Studio Code, use code $PROFILE).
My profile, which can be found below, creates a couple of functions and aliases to:
navigate to frequent folders
add a wrapper and some templates to the most common git commands
keep a history for used commands
register shortcuts so I don't have to type the whole command
Microsoft.PowerShell_profile.ps1
# The first time the Terminal-Icons module needs to be installed:
If you know me, you already know that I like to customize my Visual Studio Code setup.
The following scripts don't include (color or icon) themes because I like to frequently rotate between them, depending on my mood.
However, the next script installs all of the mandatory extensions to be productive.
Because I'm using the Insiders version of Visual Studio Code, I'm using code-insiders instead of code.
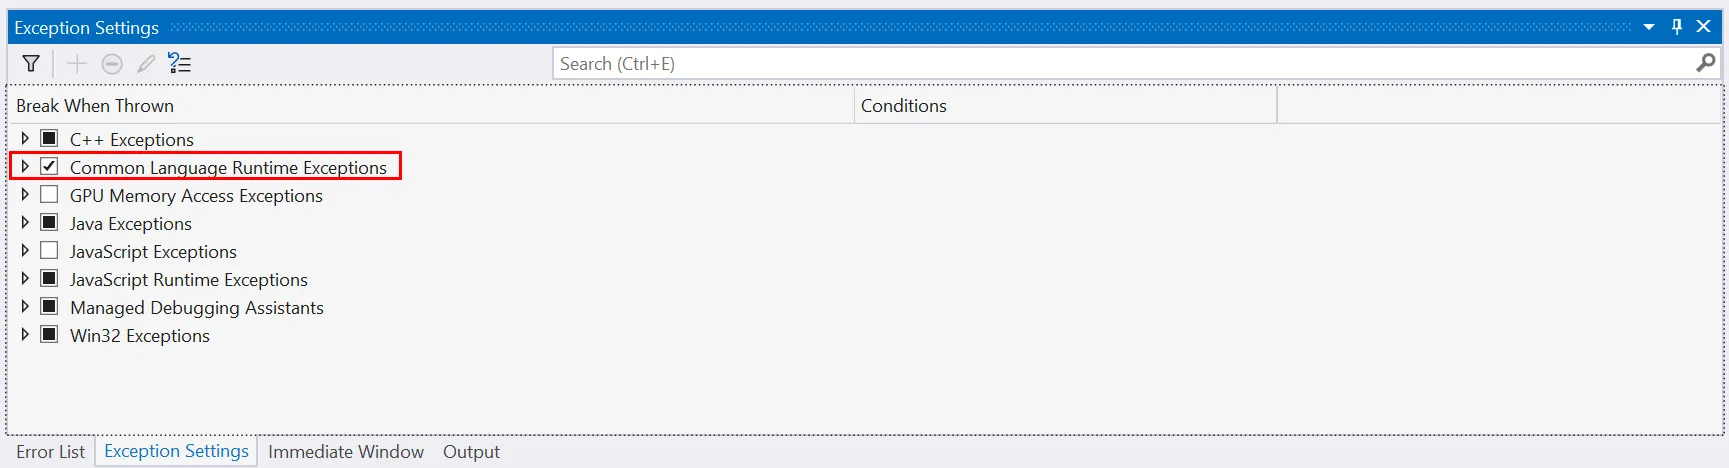
A setting that has saved me a lot of time is the "Common Language Runtime Exceptions" setting.
By default, the setting is partially enabled but I always enable it because it immediately points me to the source of the exception rather than I have to debug the entire stack to find the exception. When the setting is enabled, the debugger breaks on all exceptions and it navigates to the source. This makes it straightforward to find and fix bugs.
To enable the setting, use the ctrl+alt+e shortcut and tick the "Common Language Runtime Exceptions" checkbox.
Enable "Common Language Runtime Exceptions"
For Visual Studio Code, check the breakpoint checkboxes in the "Run and Debug" sidebar.
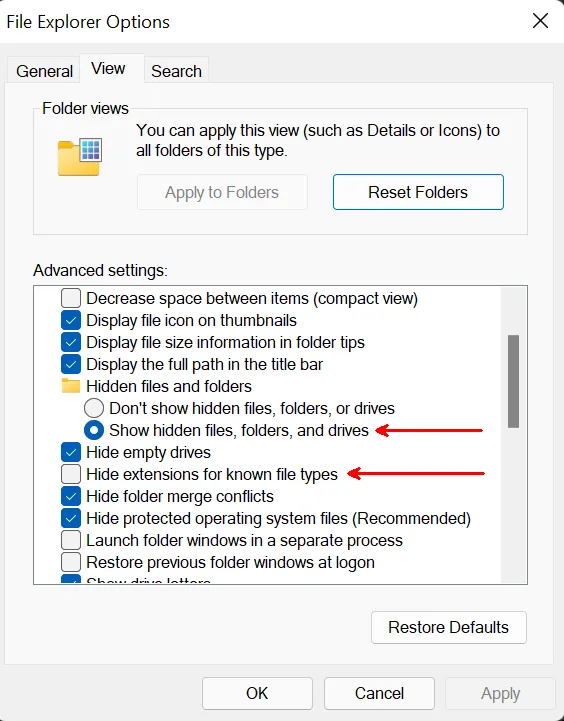
As a software developer, seeing hidden files and more importantly, the file extension is a must. Via the "File Explorer Options" window these two options can be enabled.
To run an Angular application on HTTPS locally you can create a self-signed certificate, but I find it easier to allow invalid certificates on localhost. This is a flag that can be enabled via the browser.
From my recent experience, it's painless and swift to set up a new Windows machine anno 2022.
To make our daily work more enjoyable, the Terminal and the IDE are configured to our needs and preferences.
I've created PowerShell profile to script frequent tasks, making them easy and fast to run, often with only a few keystrokes. While these seem small, it definitely is a productivity boost.
The last step is to clone your Git repository and start working.